Spare Tire Mount Train Horn Install Guide
Spare tire delete train horn mount — how it works, time/cost savings, vehicle-specific brackets (Goliath, Kleinn STL), step-by-step removal of OEM spare and bracket fit.
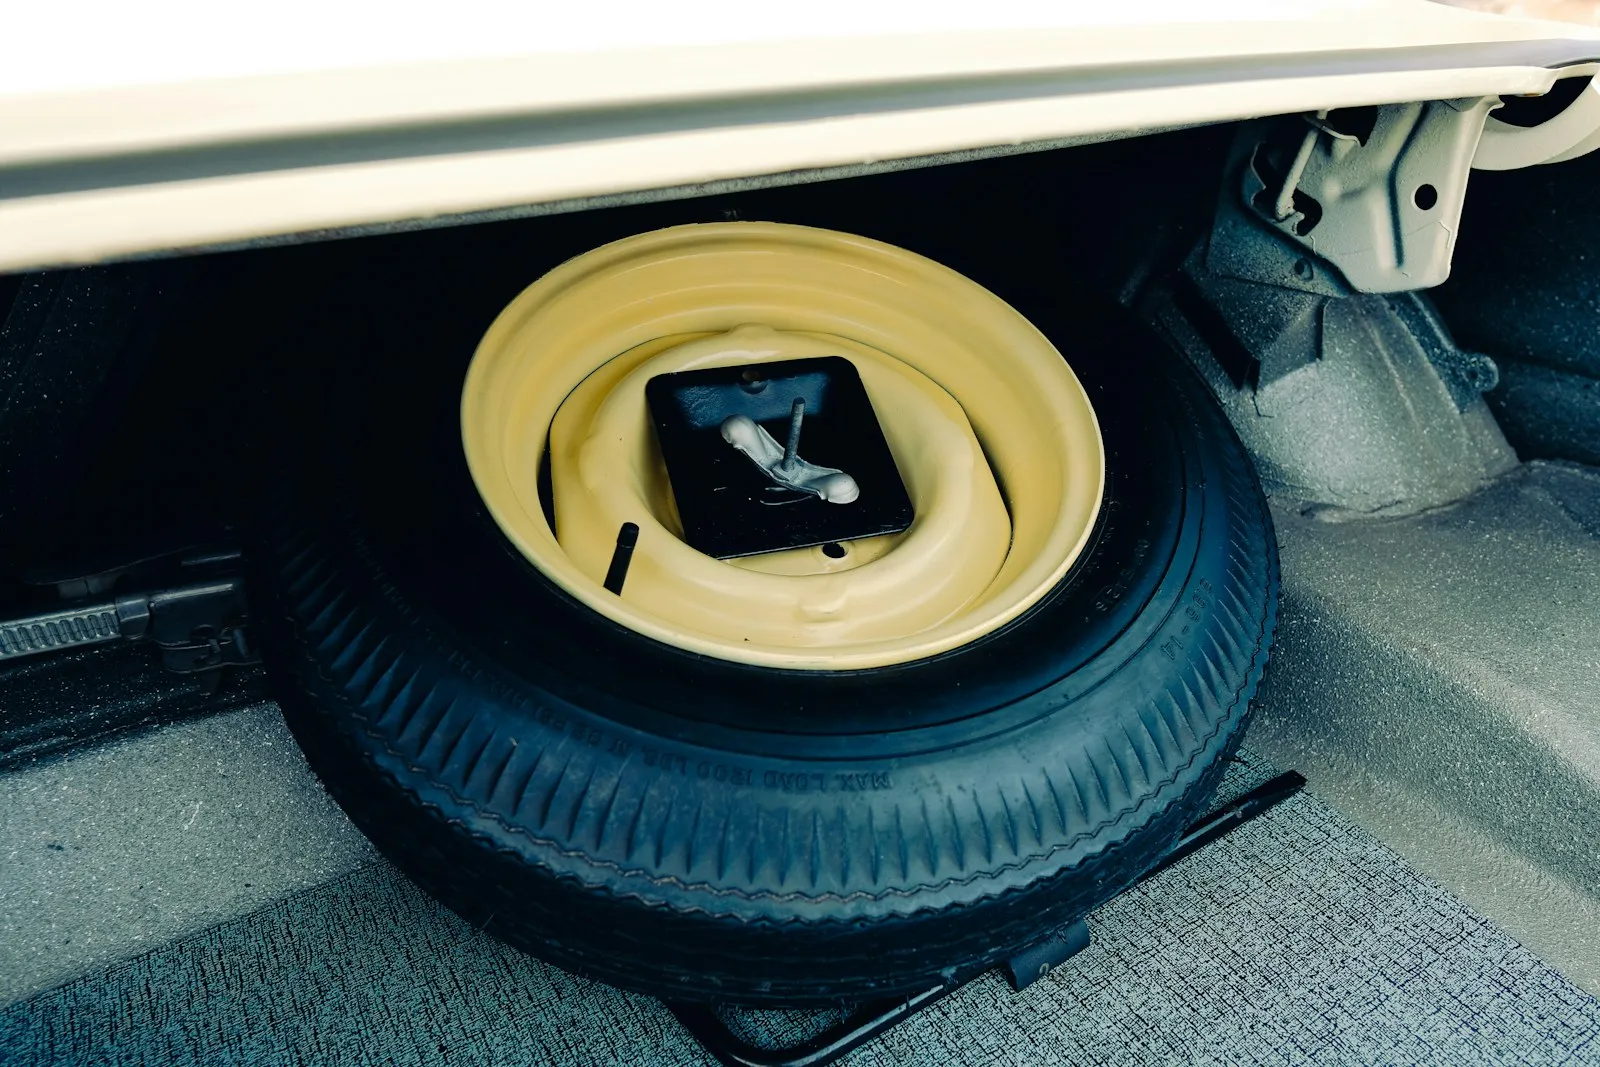
A spare-tire-delete (STD) mount is the standard install location for a train horn on most pickup trucks and body-on-frame SUVs. The OEM spare tire hangs underneath the bed on a winch cable; remove the spare and the winch mechanism, install a vehicle-specific bracket where the spare used to sit, and the entire train horn system (compressor, tank, valve, horn) lives in the same envelope. Cuts install time roughly in half vs custom-fabricated mounts and produces a clean, hidden install that’s invisible from above.
- Difficulty
- Moderate
- Spare tire winch + frame work
- Time
- 3–4 hours
- Vs 6–8 hours custom fab
- Cost (bracket)
- $300–$700
- Goliath, Kleinn STL, etc.
- Compatible vehicles
- Pickup + body-on-frame SUV
- F-150, Ram, Silverado, Tacoma, etc.
- Visible footprint
- None from above
- Hidden under bed
- Trade-off
- No spare tire
- Carry portable inflator + plug kit
Why spare-tire-delete is the most common train horn mount
The spare tire well is the largest contiguous open envelope on a body-on-frame pickup or SUV. It’s:
- Already designed to hold a heavy object (the OEM spare) — the winch crossmember and frame structure handle 50–100 lb without modification
- Hidden from view above — preserves the truck’s appearance
- Accessible from below for service
- Not occupied by exhaust, fuel tank, transmission, or driveshaft on most platforms
- Located near the rear axle, where a 5-gallon tank + 1NM compressor + 4-trumpet manifold fit naturally
The trade-off is giving up the OEM spare tire. Most STD installers carry a portable 12 V tire inflator and a plug kit instead.
Vehicle-specific brackets
Modern aftermarket spare-tire-delete brackets are vehicle-specific — engineered to bolt to factory frame holes without drilling on most truck generations. The major options:
| Bracket | Vehicles | Approx. price | Source |
|---|---|---|---|
| HornBlasters Goliath | F-150 (2015–2020), Tacoma (2014–2023), F-250/F-350 | $665.99 | HornBlasters |
| Kleinn SDKIT17-734STL | Ford Super Duty F-250/F-350/F-450 (2017–2022) | $1,200–$1,500 (kit + bracket) | Kleinn |
| Kleinn Lil’ Bad Ass 220 | Sierra/Silverado 1500 (2019–2024) | $900–$1,300 (kit) | Kleinn |
| Universal Spare Tire Location (USTL) | Ram 1500/2500/3500, Tundra, Silverado, etc. | $250–$400 | AmericanTrucks Ram / ExtremeTerrain Tacoma |
| Custom fabricated | Anything not listed | DIY | — |
Vehicle-specific brackets like the Goliath and Kleinn STL are bolt-on for the year/model they’re engineered for. Universal STL brackets fit “with adaptation” — usually a few additional drilled holes.
Step-by-step (universal procedure)
This sequence works for any pickup or body-on-frame SUV with a winched-spare layout. Total time: 3–4 hours with a vehicle-specific bracket.
- Disconnect battery negative terminal. Standard safety step. Diesel trucks with dual batteries: disconnect both.
- Lower the spare tire using the OEM winch crank. Most trucks have a winch access hole in the rear bumper or behind the rear license plate. The spare on full-size trucks (F-250, Ram 2500/3500) is heavy — support with a floor jack before the last cable wrap unspools.
- Remove the spare tire winch mechanism. Two or three 13 mm bolts on the crossmember. Save the hardware in case you ever want to reverse the install.
- Test-fit the spare-tire-delete bracket in the empty envelope. Confirm clearance vs:
- Exhaust system (heat shielding may be needed near catalytic converters or DPFs)
- Rear axle articulation under full droop
- Trailer hitch if equipped (some hitches have crossmembers that conflict)
- 5th-wheel / gooseneck towing prep on HD trucks
- Mark any holes that need drilling. Vehicle-specific brackets often bolt to factory holes without drilling; universal brackets typically need 2–4 new holes.
- Drill marked holes with a 1/4” bit (or whatever the bracket specifies). Treat fresh-cut metal with a touch of chassis paint to prevent rust.
- Bolt the bracket to the frame rails with the included hardware. Torque to bracket spec — typically 30–35 ft-lb for 13 mm hardware.
- Mount the train horn to the bracket. Trumpets pointing rearward and slightly down. Verify sufficient clearance from the rear axle’s full droop position.
- Mount the air tank within the bracket envelope. Tank on its long axis with the drain valve facing the ground.
- Mount the compressor within the bracket or alongside the tank. Cooling fins must be clear of the tank wall and exhaust heat.
- Run air lines between compressor → tank → solenoid valve → horn. 1/2” PTC fittings are standard.
- Run electrical per the universal wiring diagram page — compressor power circuit (relay-switched, 30 A inline fuse), solenoid trigger circuit (10 A fuse, MICRO2 fuse-tap to OEM horn signal).
- Reconnect battery, prime the system. Compressor will run for ≈ 6:45 to fill a 5-gallon tank from 0 → 150 PSI.
- Test fire by manually shorting the solenoid trigger to 12 V, then via the OEM steering wheel button.
Common spare-tire-delete problems
Distilled from HornBlasters install pages, RamForum.com, F150forum.com, and Tacoma3G:
- Spare tire winch cable retains tension when you remove the last bolt. Floor-jack the spare before the last wrap unspools, especially on F-250 / F-350 / Ram 2500 / Ram 3500 with heavier OEM spares.
- Universal bracket needs adaptation. “Some adaptation may be required” appears on most universal STL bracket listings — meaning some drilling. Test-fit before final torque.
- Exhaust heat near the bracket. Diesel trucks’ catalytic converter / DPF runs close to the spare tire location. Heat-shield the compressor mount or relocate the compressor to the driver’s-side frame rail.
- Trailer hitch conflict. Some 5th-wheel hitch installs have crossmembers that occupy bracket-mount space. Verify clearance before drilling.
- Spare tire stored above bracket. Some installers keep the OEM spare and mount it above the bracket — feasible only on trucks with significant ground clearance (Ram 2500/3500 HD, F-250/350 HD).
- Bracket vibration loosens bolts. Use thread-locker (medium strength, removable) on every bracket bolt. Re-check tightness after 100–500 miles.
What if I want to keep my spare tire?
If you don’t want to give up the spare, alternatives:
- Frame-rail mount. Tank and compressor on the outside passenger frame rail under the cab; trumpets behind the bumper or on a separate frame mount. More install time (6–8 hours), more visible.
- Above-spare combination kit. Some Ford Tremor (Super Duty) builders mount the compressor above the spare with the tank tucked behind the driver’s-side rear wheel. Per the FordTremor.com discussion, this works but is a tighter envelope.
- In-bed toolbox mount. Tank + compressor inside a lockable bed toolbox; trumpets on a frame mount. Easy to access for service but uses bed space.
- Compact under-hood kit. Smaller Vixen-class units fit in the secondary battery tray location on T1 GM trucks (Sierra, Silverado). Limits horn size to dual or quad trumpets.
Vehicle-specific install guides using STD mounts
For the procedure tailored to a specific vehicle, see:
- Ford F-150 install guide — uses the HornBlasters Goliath bracket
- Ford F-250 Super Duty install guide — uses the Kleinn STL kit
- Ford F-350 install guide — same Kleinn STL family
- Ram 1500 install guide — universal STL bracket
- Ram 2500 / 3500 install guides
- Chevrolet Silverado install guide — Kleinn Lil’ Bad Ass 220 direct-fit
- GMC Sierra install guide — same Kleinn 220 bracket
- Toyota Tacoma install guide — HornBlasters Goliath 2014–2023 bracket
- Toyota Tundra install guide — universal STL bracket
Sources
- HornBlasters — Goliath Train Horn Mount product page (1/4” steel STD bracket family for F-150, Tacoma, etc.)
- HornBlasters — Goliath Mount for 2015–2020 F-150 ($665.99 specific F-150 fitment)
- Kleinn — Lil’ Bad Ass Model 220 for 2019–2024 GMC Sierra & Chevy Silverado (T1 platform direct-fit)
- Kleinn — STL Kit for 2017–2022 Ford Super Duty (4th gen Super Duty STL)
- AmericanTrucks — Ram 1500 Universal STL Bracket (universal-fit Ram 1500 reference)
- ExtremeTerrain — Tacoma Universal STL Bracket (universal-fit Tacoma reference)
- Ford Tremor Forum — Train horn without deleting the spare tire (above-spare alternatives)
We do not perform hands-on installs. This guide aggregates publicly available install documentation. Verify all wiring against your vehicle’s year-specific service manual before powering up.