How to Install a Train Horn on a Toyota Tacoma (2016–2026)
Train horn install for Toyota Tacoma — Goliath bolt-on bracket, spare-tire-delete mounting, OEM horn fuse-tap wiring, 3rd gen vs 4th gen fitment, kit options.
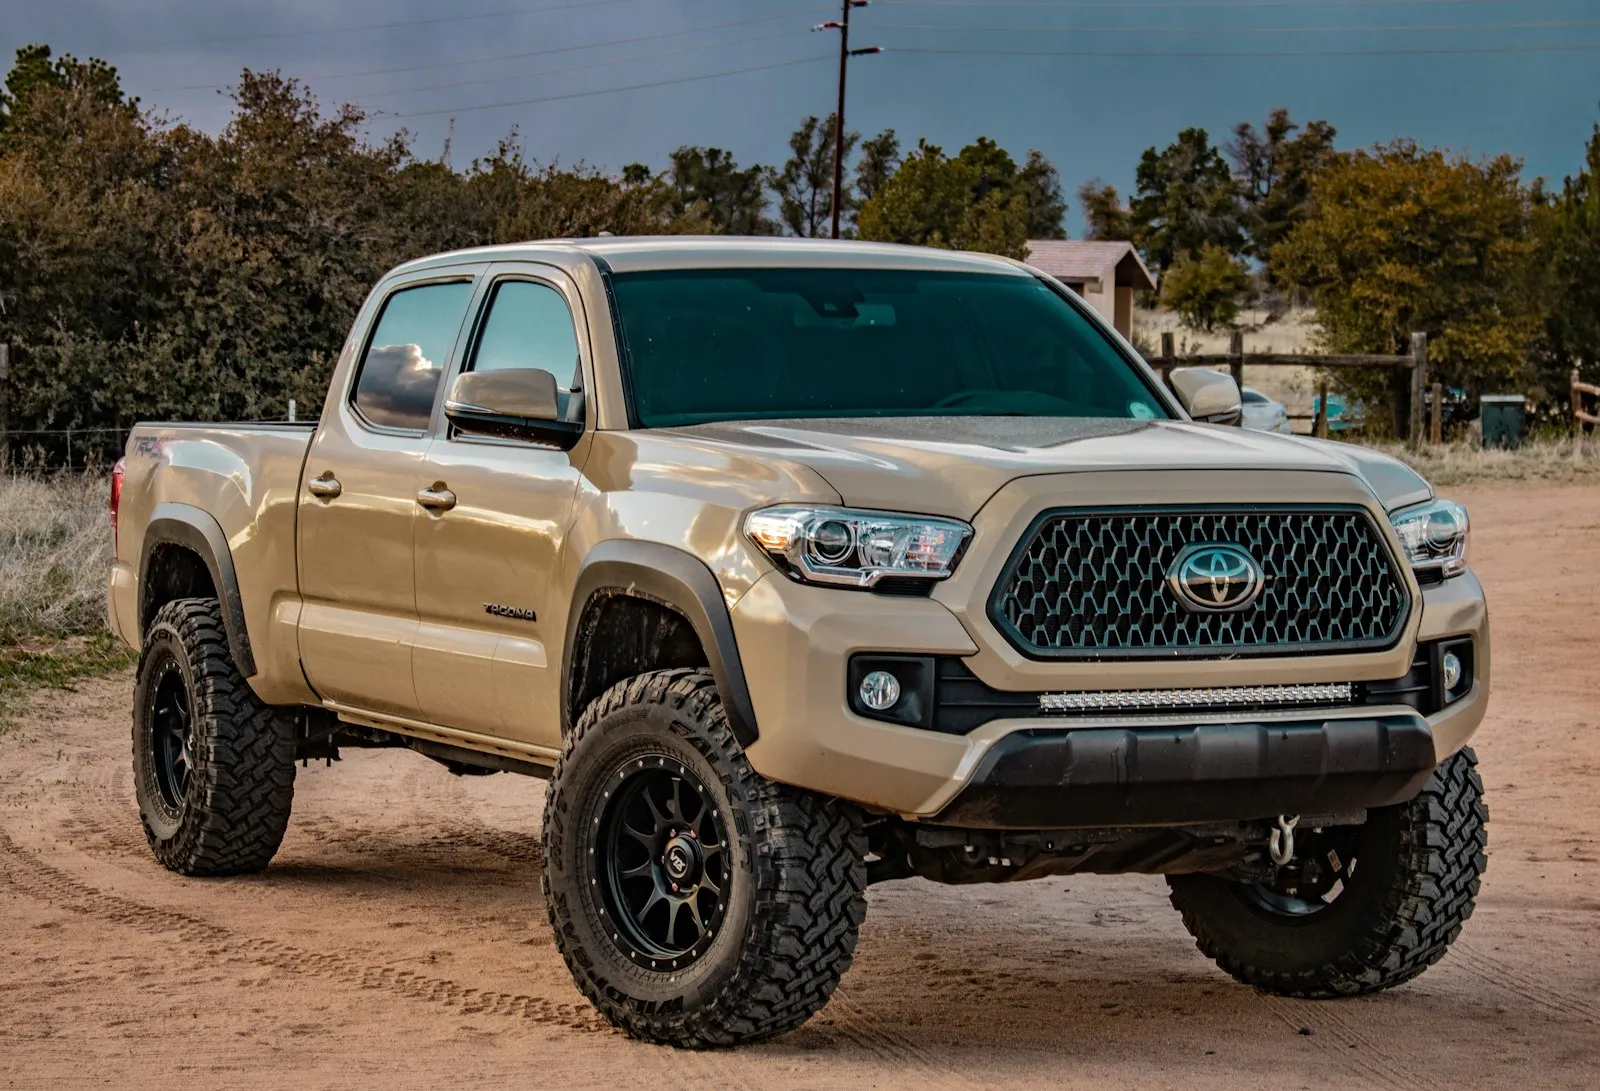
The Toyota Tacoma is a popular train-horn install for the same reason as the F-150 and Silverado — body-on-frame chassis, easy spare-tire-delete envelope, and a clean OEM horn circuit that takes a fuse-tap signal cleanly. The 3rd-gen Tacoma (2016–2023) has the cleanest install path of any Toyota mid-size truck, with a bolt-on Goliath bracket and a HornBlasters-published OEM-tap procedure documented for 2005-and-up Tacomas. This guide consolidates HornBlasters’ Tacoma install pages, ExtremeTerrain’s bracket kit listings, and the Tacoma3G community forum.
- Difficulty
- Moderate
- Mechanical aptitude required
- Time
- 3–4 hr (Goliath bracket)
- 6–8 hr custom fab
- Cost
- $1,000–$5,500
- Kit + mount + parts
- Best mount
- Spare tire well
- Goliath 2014–2023 bracket
- Generations
- 3rd / 4th gen
- 2016–2023 / 2024–2026
- Air system
- 5-gal tank min
- 1NM-class compressor
Quick stats
- Difficulty: Moderate. The Tacoma’s spare tire winch is similar to the F-150’s; you’ll be comfortable with the install if you’ve done minor truck-bed work before.
- Time: 3–4 hours with the HornBlasters Goliath bracket; 6–8 hours with universal brackets that require additional drilling.
- Cost: $1,000 entry-level Vevor / Kleinn kit up to $5,500+ for a HornBlasters Shocker XL or Nathan AirChime K5LA install.
- Tools: Standard 1/4″ and 3/8″ socket sets, drill, wire crimpers, multimeter, fuse puller, MICRO2 add-a-circuit adapter.
Mounting options by generation
3rd gen (2016–2023)
- Spare tire location with Goliath bracket (recommended): HornBlasters’ Goliath Train Horn Mount for 2014–2023 Toyota Tacoma is “completely bolt-on for 2014–2022 Toyota Tacoma series trucks.” 1/4” plasma-cut steel; same Goliath family as the F-150 mount.
- Universal spare-tire bracket: ExtremeTerrain offers a Universal Spare Tire Location Train Horn Bracket Kit and a combined bracket + onboard air system kit. “Some adaptation may be required” — meaning some drilling.
- Kleinn direct-fit kits: Kleinn sells two pre-bracketed kits at ExtremeTerrain — USTL-734 with Model 730 Triple Horn and USTL-230 with Model 230 Triple Horn.
- Behind front bumper: Less common; trumpets fit but compressor/tank still need a frame-rail mount.
Reference install: HornBlasters’ Jeremy’s 2016 Tacoma with Conductor’s Special 544K Nightmare.
4th gen (2024–2026)
- Bracket fitment caveat: HornBlasters’ Goliath listing covers 2014–2023; verify with the seller whether the bracket fits the redesigned 4th-gen frame (which has different hole patterns and a slightly different spare tire well).
- Universal underbody: Pending vehicle-specific aftermarket support, custom underbody bracketing or universal STL kits are the most common 4th-gen path.
- HornBlasters’ Toyota trucks landing page — hornblasters.com/pages/toyota-trucks — is the seller’s central reference for Tacoma fitment notes as new model years are tested.
Recommended kits
Three kits ordered by price tier:
- Kleinn USTL-734 / USTL-230 — Pre-bracketed kits with the bracket included, sold via ExtremeTerrain in the $1,200–$1,700 range. Bolt-on, no separate bracket purchase.
- HornBlasters Goliath Mount + Conductor’s Special 228H — Bracket (HornBlasters product page) plus the Conductor’s Special 228H kit at 147.7 dB. Total around $1,300–$1,500.
- HornBlasters Goliath + Nathan AirChime K5LA Kit — Bracket plus the Nathan K5LA kit at $4,999.99–$5,199.99. Real locomotive horn, 149.4 dB ceiling.
For portable / no-install alternatives see Milwaukee M18 and DeWalt 20V MAX hubs.
Step-by-step (Goliath bracket on a 3rd-gen Tacoma)
This sequence assumes a 2016–2023 Tacoma with the HornBlasters Goliath bracket and a 5-gallon Conductor’s Special 544K kit. Adapt for other configurations. Total time: 3–4 hours.
- Disconnect battery negative terminal.
- Lower the spare tire using the OEM winch crank (accessed through a hole in the rear bumper or behind the rear license plate).
- Remove the spare tire winch mechanism. Two 13 mm bolts on the crossmember. Save the hardware.
- Test-fit the Goliath bracket in the empty spare envelope. The Goliath listing says “completely bolt-on” — most builds will need no drilling.
- Bolt the Goliath bracket to the frame rails. Torque to spec.
- Mount the train horn to the bracket using the supplied U-bolts.
- Mount the air tank within the bracket using the included tank straps. Drain valve facing down.
- Mount the compressor within the bracket or alongside the tank.
- Run air lines between compressor, tank, solenoid valve, and horns. 1/2″ PTC fittings.
- Run the compressor power wire (8 AWG positive + ground) from the engine bay battery. Inline 30 A fuse within 12″ of battery positive.
- Run the solenoid trigger wire (18 AWG) from the cab to the solenoid.
- Tap into the OEM horn fuse circuit (MICRO2 add-a-circuit method, see below).
- Ground the solenoid to the vehicle frame on bare metal.
- Reconnect battery, prime the system (≈ 6:45 to fill 5-gallon tank from 0 → 150 PSI).
- Test fire the horn first by manually shorting the solenoid trigger to 12 V, then via the OEM steering wheel button.
Wiring to the steering wheel button (2016+ Tacoma)
HornBlasters published a dedicated guide for 2016+ Tacoma OEM horn fuse-tap. The procedure is the same MICRO2 add-a-circuit pattern as on F-150 / Ram 1500 / Silverado:
- With battery disconnected, locate the horn fuse in the engine bay fuse box. Reference the cover diagram for your year.
- Remove the original horn fuse using a fuse puller.
- Insert a MICRO2 add-a-circuit adapter with the original fuse on the interior terminals.
- Insert a 10 A MICRO2 fuse on the exterior terminals.
- Crimp 18 AWG wire to the adapter’s pigtail and route through the firewall to the solenoid.
- Ground the solenoid’s negative terminal to the frame.
- (Optional) Splice a cab-mounted toggle for arm/disarm override.
- Reconnect battery, press steering wheel horn button — both OEM horn and train horn fire together.
For the universal wiring topology, see /install/by-task/wiring-diagram/.
Common problems
Distilled from Tacoma3G.com, HornBlasters install pages, and Tacoma World forum threads:
- Goliath bracket clearance with TRD Off-Road / TRD Pro skid plates. Some trim levels have additional underbody armor that interferes with the bracket. Check clearance before final torque.
- Compressor near the rear differential. The Tacoma’s rear diff and exhaust routing pass close to the spare tire location. Heat-shield the compressor or relocate to driver’s-side frame rail.
- OEM horn stops working after fuse-tap. MICRO2 adapter inserted backwards. Original fuse on interior terminals; new 10 A trigger fuse on exterior terminals.
- Reversed compressor polarity. Symptom: motor grinds. Fix: swap +/− compressor leads.
- 2024+ 4th gen fitment uncertainty. Goliath bracket is engineered for 2014–2023; the redesigned 4th gen has different frame hole patterns. Verify before ordering.
- Vibration noise into cab. Use rubber-isolated mounts between compressor and frame bracket.
- Air leak at NPT fittings. Use Teflon tape on every NPT thread; do not Teflon-tape PTC fittings (O-ring seal).
Legal reminder
A train horn install on a Tacoma is legal in most U.S. states for the horn hardware itself, but using it on a public road typically violates state vehicle codes. Most states cap horn output around 110 dB. See the legal hub and state legality lookup.
Sources
- HornBlasters — Goliath Train Horn Mount for 2014–2023 Toyota Tacoma (1/4” steel bolt-on bracket)
- HornBlasters — Connecting Train Horns to OEM Horn (2016+ Tacoma) (MICRO2 fuse-tap procedure)
- HornBlasters — Toyota Trucks landing page (Toyota fitment central reference)
- HornBlasters — Jeremy’s 2016 Tacoma Conductor’s Special 544K Nightmare Install
- ExtremeTerrain — Tacoma Universal Spare Tire Location Train Horn Bracket Kit
- ExtremeTerrain — Tacoma Universal STL OnBoard Air System Bracket
- ExtremeTerrain — Kleinn Tacoma USTL-734 with Model 730 Triple Horn
- ExtremeTerrain — Kleinn Tacoma USTL-230 with Model 230 Triple Horn
- Tacoma3G — HornBlasters discussion thread (3rd-gen owner community feedback)
We do not perform hands-on installs. This guide aggregates publicly available install documentation and community discussions. Verify all wiring against your vehicle’s year-specific service manual before powering up.