Bench Test Your Train Horn Kit: First Fill & Leak Check Guide
Bench test your train horn kit before install: temporary wiring, first tank fill, a soapy-water leak check, and the red flags that mean a component goes back.
Bench testing a train horn kit before installation costs you about an hour on the garage floor — and it is the difference between finding a bad fitting on a workbench and finding it after the tank is bolted under the bed and the wiring is loomed through the firewall.
Why You Should Bench Test Before You Drill Anything
A train horn kit is really a dozen small components pretending to be one product: horns, solenoid valve, compressor, tank, pressure switch, gauge, fittings, air line, and a bag of wiring. Any one of them can arrive defective or take a hit in shipping, and you will not know until air and power run through the system. The problem is that a finished install buries most of those parts — the tank goes under the bed, the compressor hides behind a bumper or in a fender well, and the wiring disappears into looms. Finding a leaking fitting or a dead solenoid after all that means unbolting half the job to fix it.
A bench test also hands you two things no spec sheet can: proof that your particular unit works, and baseline numbers for a healthy system. Time the first fill, note where the pressure switch cuts out, and watch how well the tank holds pressure. Months from now, when something feels off, those baselines tell you instantly whether the system has degraded.
Think of the bench test as step zero of the full job. Once everything passes, you can follow the complete install order in our step-by-step train horn install guide knowing every component already earned its spot on the truck.
What You Need for the Bench Test
- The complete kit, unboxed and checked against the packing list
- A roll of PTFE (Teflon) thread tape
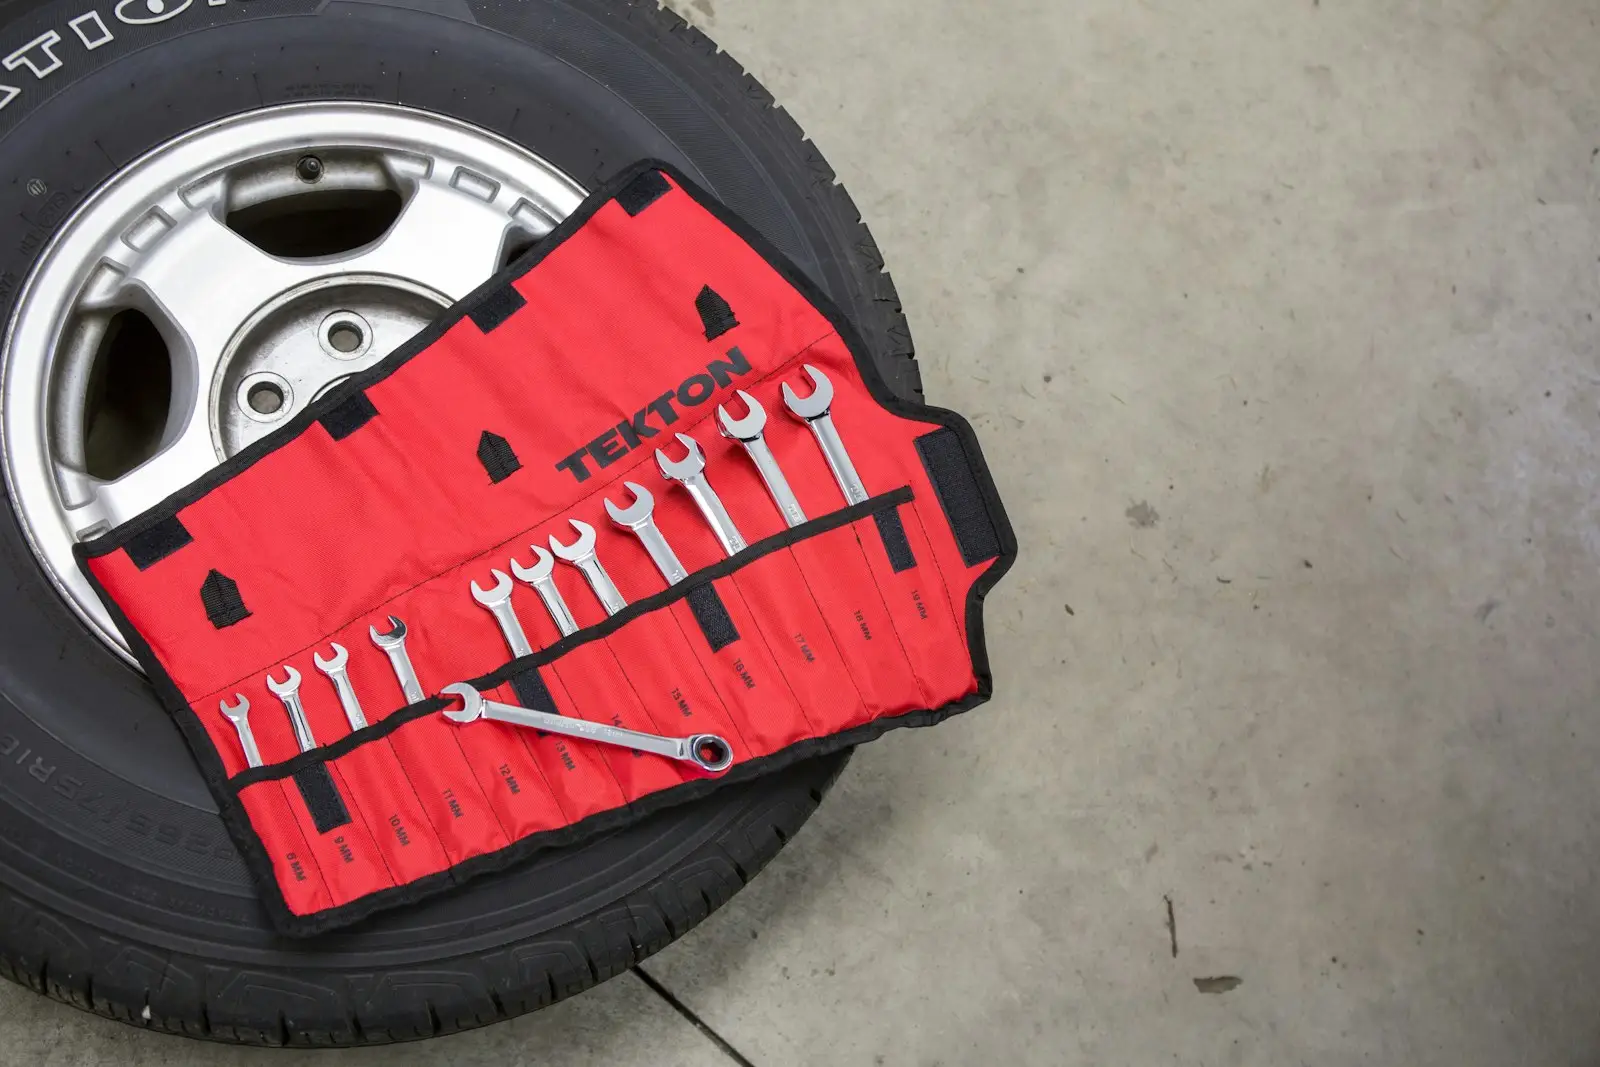
- Two wrenches — compression fittings need one to hold the body and one to turn the nut
- A spray bottle with water and a squirt of dish soap
- A fully charged 12V car battery — not a trickle charger or small bench supply
- An inline fuse holder with the fuse your kit specifies (HornBlasters 540-series kits use a 35-amp fuse)
- Safety glasses and hearing protection
Lay everything out and inventory it first. A missing reducer bushing is a five-minute discovery on the bench and a wasted Saturday if you find out mid-install.
Step 1: Assemble the Tank the Way It Will Be Mounted
Build the tank exactly as it will sit in the vehicle, because port orientation matters. Using HornBlasters’ 5-gallon eight-port tank as the example, you get seven 1/2-inch NPT ports and one 3/4-inch port. The drain cock must go in the bottom-most port so condensation can actually leave the tank. The gauge and pressure switch mount on the side or top of the tank so moisture cannot drain into them, and the pressure switch gets threaded in hand-tight only — never tighten it by twisting the switch body. The safety blow-off valve goes in any port except the bottom, and it is never a substitute for a drain. Every port you are not using gets a plug.
Connect the compressor’s leader hose to the tank next, and leave the inline check valve in that hose alone: HornBlasters warns that rotating or removing it damages the seals, wrecks the compressor, and voids the warranty. The check valve itself only ever gets hand-tightened. Set the compressor upright so heat can escape through the head fins, and keep it positioned above the tank — mounted lower, condensation can drain back into the pump.
Finally, plumb the solenoid valve into the line to the horns and check the flow arrow on the valve body. The arrow must point toward the horns. A backwards valve will not seal, and the classic symptom is horns that quietly hum with the system pressurized.
Step 2: Seal Every Thread — But Not Every Fitting Gets Tape
HornBlasters’ instructions are blunt about sealant: use Teflon tape or a thread-locking compound on every NPT fitting in the air system unless the threads already come coated with white or red PTFE paste. Skipped tape is the single most common source of the slow leak that drains a tank overnight. Wrap the tape in the direction of thread engagement so it tightens rather than peels as you thread the fitting in.
Compression fittings play by different rules. The ferrules (olives) that make the seal are single-use, so cut each air line run with at least an extra inch to spare — if you have to redo a joint, you trim the old ferrule off and start fresh. Use two wrenches, one holding the fitting body stationary and one turning the compression nut. And never put a kink in the air line: per the manual, a kink disrupts airflow and the damage to the line is irreversible.
If you are not sure which style of fitting you are holding, our train horn air fittings guide sorts out push-to-connect vs compression vs NPT and how each one seals.
Step 3: Wire It to a Real Battery
These kits are 12-volt DC systems, and the compressor is the hungriest thing on the bench. A Viair 444C — the pump in many 5-gallon kits — pulls up to 19 amps, which is far beyond what a battery maintainer or hobby power supply will deliver. Use a fully charged automotive battery. In the vehicle, HornBlasters tells you to keep the engine running whenever the compressor works, precisely because low voltage is hard on the motor.
Wire the two circuits just as the manual lays them out, even though this is temporary. The compressor feed runs through 10-gauge (or thicker) wire and the 35-amp inline fuse to the pressure switch, which has the relay built in; the switch’s signal side takes small 18-gauge wire, and a push-button horn trigger gets its own 5-amp fused lead. Before any pressure is in the tank, hit the horn button and listen for a quiet click from the solenoid valve — that click is your wiring-is-correct confirmation, and it costs nothing to check now.
The First Fill: What the Gauge Should Do
Put on safety glasses, stand to the side, and let the compressor run. The needle should climb smoothly and without pause. Time it: HornBlasters lists the 444C filling a 5-gallon tank from 0 to 200 PSI in about 10 minutes 30 seconds, with a 165-to-200 PSI refill taking about 2 minutes 50 seconds. Whatever your kit’s healthy first-fill time turns out to be, write it down — it is your future troubleshooting baseline.
Let the pressure switch do its job. The 540-series kits ship with a 150 PSI pressure switch, and the compressor should shut off on its own at the cut-out point. Never fill past the tank’s rating — the Admiral/Katrina manual is explicit that exceeding 150 PSI on its included tank risks serious injury. If the safety valve pops instead of the compressor shutting off, kill the power: per the troubleshooting chart, that means a faulty pressure switch or a defective safety valve, and either one is a warranty claim, not a shrug.
Two more expectations for the first fill: the compressor gets genuinely hot, so keep your hands off it during and right after the run. And if it stops mid-fill, the automatic thermal protector likely tripped — cut the power and give it about 30 minutes to cool before it resets.
The Soapy-Water Leak Check
With the tank at full pressure, cut power to the compressor so the system sits still. Fill a spray bottle with water and a little dish soap, then soak every joint: each tank port, each plug, the drain cock, the line connections at the tank and solenoid, and the gauge and pressure switch threads. Anywhere air escapes, the soap grows bubbles — the bigger the leak, the faster the foam.
When you find one, depressurize, back the fitting out, re-wrap with fresh tape, and re-tighten; cranking harder on a poorly taped NPT joint rarely fixes it. Double-check the drain cock is fully closed — a loose drain is one of the most common phantom leaks. Then let the pressurized system sit for an hour or more. The needle should hold essentially steady. There is one leak the spray cannot see: a failing check valve bleeding the tank back through the compressor. Test it the way HornBlasters suggests — with the system depressurized and the valve disconnected, blow into it toward the compressor; if air passes, it needs replacing. For anything more stubborn, our air leak diagnosis guide covers the hunt in depth.
Red Flags: When a Component Goes Back in the Box
Finish with a honk — outside, ear protection on, neighbors warned. Then judge the whole test. Any of these means you stop and resolve it before install day:
- Horns hum instead of blast — usually a solenoid valve installed backwards or not sealing
- Compressor never reaches cut-out pressure, or runs drastically longer than the published fill time
- Gauge visibly drops with everything closed and the compressor off
- Thermal protector trips on a single open-air fill
- Safety valve pops before the pressure switch cuts out
If everything passes, tear down smart. Drain the tank fully, but leave the leak-checked tank assembly — plugs, gauge, switch, drain cock — exactly as built, and transfer it to the vehicle as a unit. Every joint you do not disturb is a joint you will not have to leak-check twice. Label the wiring before you unclip it, and your real install starts with a system you already know works.
Keep reading
- How to install a train horn: step-by-step DIY guide
- How to find and fix air leaks in a train horn system
- Train horn air fittings: push-to-connect vs compression vs NPT
- Wiring a train horn relay: diagrams and common mistakes
- How to drain a train horn air tank (and how often)
Sources
- HornBlasters Admiral/Katrina 540/544/548 Installation Manual (PDF) — Teflon tape/sealant rules, tank port layout (seven 1/2” + one 3/4” port), drain cock and safety valve placement, check valve warnings, single-use ferrules, kink warning, 10 AWG wire, 35 A fuse, 18 AWG signal wire, 5 A button fuse, 150 PSI switch and tank limit, thermal protector 30-minute cool-down, troubleshooting chart
- HornBlasters Help Center: Installation Tips & Best Practices — compressor upright orientation, valve flow-arrow direction and humming symptom, hand-tightening the pressure switch, plugging every unused tank port
- HornBlasters: Maintenance & Repair After Years of Use — soapy-water spray test procedure, common leak points, check valve blow test
- HornBlasters: Viair 444C Air Compressor product page — 200 PSI max, 100% duty cycle at 100 PSI, 19 A max draw, 1.76 CFM, 5-gallon fill time 10:30 and 165→200 PSI refill 2:50
Frequently asked questions
Quick answers to the questions people ask most about this topic.
- Should I test a train horn kit before installing it?
- Yes. Assembling and pressurizing the kit on a bench takes about an hour and catches shipping damage, defective solenoids, and leaky fittings while every part is still easy to reach and easy to return. Once installed, the tank and compressor are buried and any fix means partial disassembly.
- How do I check a train horn kit for air leaks?
- Fill the tank to full pressure, cut power to the compressor, then spray every fitting, port, plug, and connection with soapy water from a spray bottle. Escaping air grows visible bubbles at the leak point. Afterward, let the system sit pressurized for an hour and confirm the gauge holds steady.
- How long does it take to fill a train horn air tank?
- It depends on the compressor and tank size. As a reference point, HornBlasters lists the Viair 444C filling a 5-gallon tank from 0 to 200 PSI in about 10 minutes 30 seconds, with a 165-to-200 PSI refill taking about 2 minutes 50 seconds. Time your own first fill and keep the number as a health baseline.
- Can I bench test a train horn compressor with a battery charger?
- No. Kit compressors like the Viair 444C draw up to 19 amps at 12 volts, which is more than trickle chargers and small bench supplies can deliver. Use a fully charged automotive battery, and once the kit is in the vehicle, run the engine whenever the compressor is working.
- What does it mean if the safety valve pops during the first fill?
- The compressor should shut off at the pressure switch's cut-out point before the safety valve ever opens. If the safety valve pops instead, the pressure switch or the safety valve itself is faulty. Cut the power immediately and replace the failed part before going any further.
Related reviews & guides
Dual Compressor Train Horn Setup: Twice the Fill Speed, Worth It?

DIY Drill Train Horn Build: Convert a Cordless Drill Into a Horn
Train Horn Dash Air Pressure Gauge: In-Cab Install Guide

Real Locomotive Horn Truck Install: Air Supply, Valve & Line Sizing

Quiet Train Horn Compressor Noise: Isolators, Mounting & Intake