How to Install a Train Horn on a Semi Truck
Train horn install for Class 8 semi truck — already onboard air system, frame-rail and roof mounting options, OEM horn replacement vs supplement, kit options.
A semi truck (Class 8 over-the-road tractor) is the easiest vehicle to add a train horn to because the truck already has a continuously-charged main air reservoir running at 110–130 PSI for the brakes — exactly the operating range of a Nathan AirChime K5LA or any other locomotive-class horn. You don’t need a 12 V compressor, an aftermarket tank, or an air-source kit. You just need the horn, a solenoid valve, and a 1/2″ NPT tap into the existing brake-air system. This guide consolidates Class 8 install practices used by owner-operators across Kenworth, Peterbilt, Freightliner, Volvo, Mack, and International chassis.
- Difficulty
- Moderate
- Air system + electrical
- Time
- 2–3 hours
- No compressor or tank to install
- Cost
- $1,650–$5,000+
- Horn + solenoid; uses truck air
- Best mount
- Cab roof or fuel tank step
- Visible / accessible
- Air supply
- Truck main reservoir
- 110–130 PSI continuous
- Stock air horn
- Replace OR supplement
- 3-way valve allows both
Why semi installs are different from pickup installs
A semi truck has everything a tank-fed train horn kit needs except the train horn itself:
- Continuously-charged main reservoir at 110–130 PSI (the same air feeding the brake system)
- High-CFM compressor driven by the diesel engine — no need for a separate 12 V compressor
- Existing 1/4″ or 3/8″ NPT taps in the air manifold for accessory connections
- OEM stock air horns already wired for 12 V or 24 V trigger via the steering wheel button
Compared to a pickup install (which requires a 5-gallon aftermarket tank, 1NM compressor, and full wiring harness), a semi train horn install is just the horn and a solenoid valve.
Where to mount on a Class 8
The two most common mount locations:
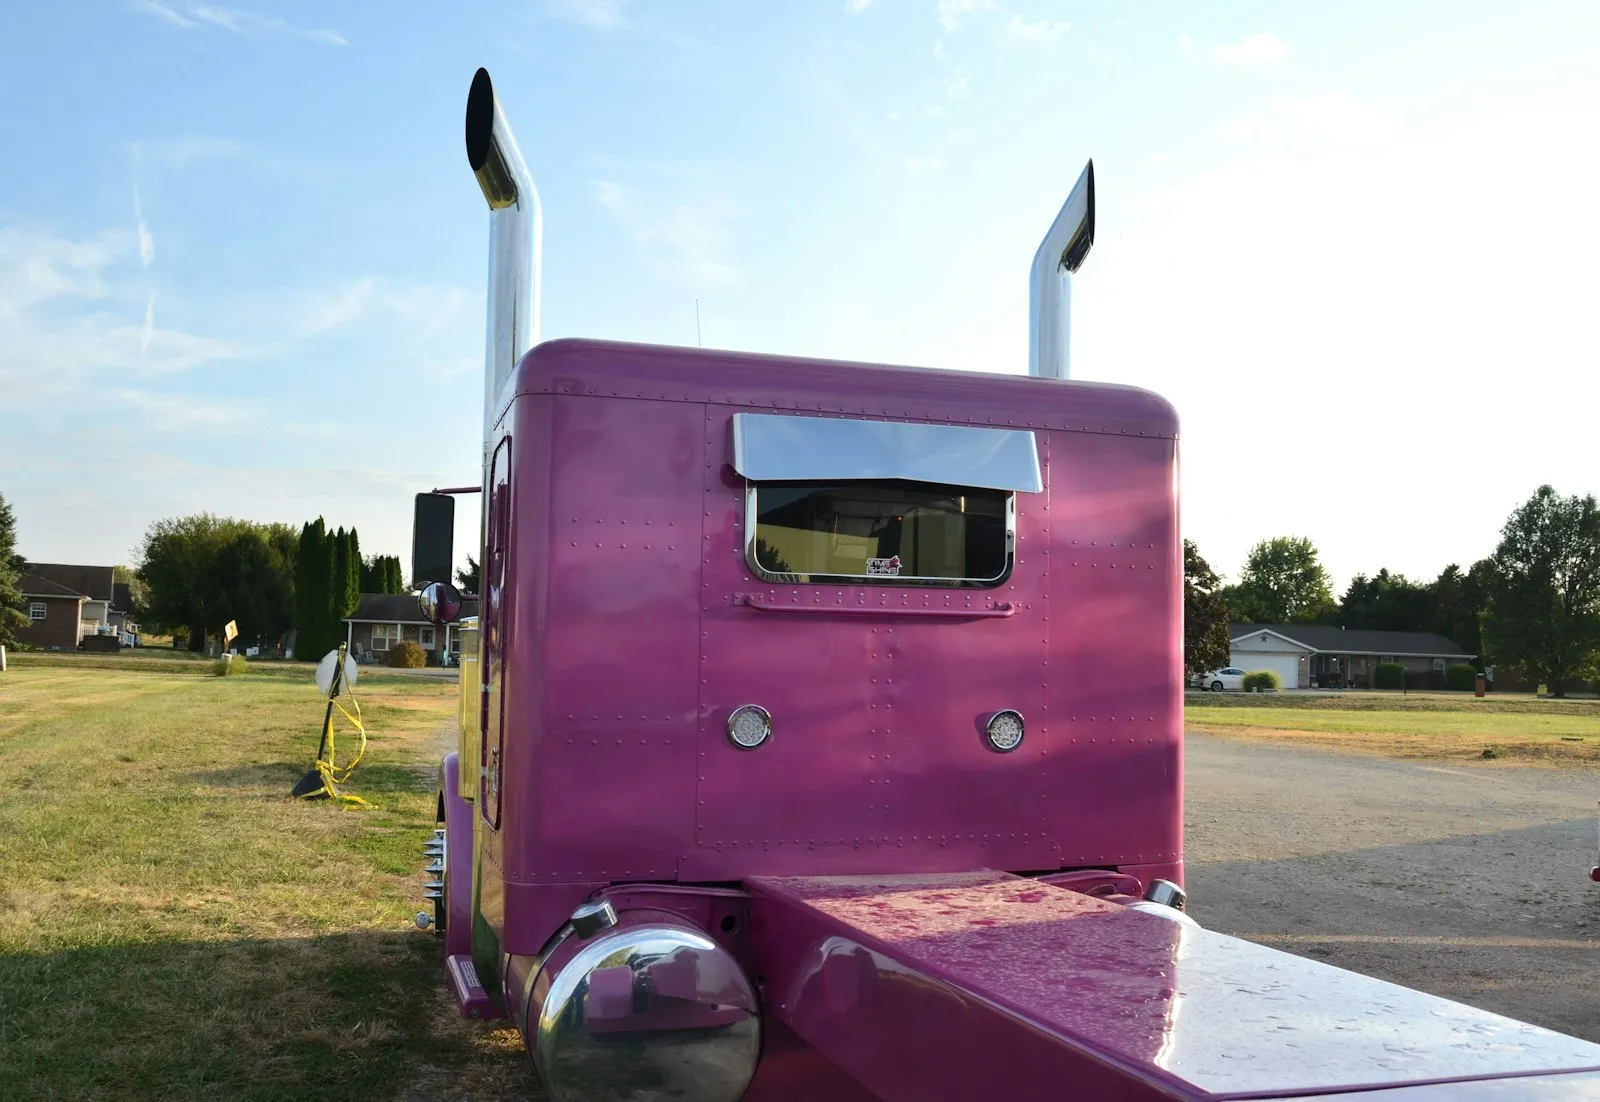
Cab roof (most common)
Mount the horn on the cab roof on a custom bracket — visible, projects forward, and uses existing cab-roof mounting hardware on most Class 8 trucks (where antennas and lights already mount). Trumpets typically point forward for projection.
Pros: Best projection, easy access for service, owner-operator visual statement. Cons: Adds height (verify clearance for low overpasses), wind drag, exposed to weather and road salt.
Fuel tank step / chassis frame
Mount the horn alongside the fuel tank step or on the chassis frame. Lower visual profile, no clearance issues, but projects downward / sideways rather than forward.
Pros: Stealth install, no clearance concerns. Cons: Less projection, more road-salt exposure.
Bumper / hood
Front-mount installs are less common on Class 8 because the bumper is far from the air manifold (long air line runs); some Peterbilt and Kenworth owner-operators run trumpets behind the bumper for a stealth look.
For Peterbilt-specific install see our Peterbilt 379 install guide.
Recommended kits
Class 8 semi trucks favor real locomotive-class horns over compact aftermarket trumpets — the truck has the air supply to drive them, and owner-operators care about authenticity:
- Nathan AirChime K5LA — $1,649.95 standalone (no kit air-system needed). The reference locomotive horn at 144 dB at 10 ft / 149.4 dB at 3 ft. See our K5LA review for full specs.
- Nathan AirChime K3LA — smaller 3-chime variant, $400–$800 standalone. See K3LA glossary entry.
- Leslie RS-5T Supertyfon — historic 5-chime alternative at 144 dB / 100 PSI. Common on heritage and classic Class 8 builds.
For lower-budget options, the HornBlasters Shocker XL at 147.7 dB is a good bridge between truck-kit pricing and locomotive-grade output.
Step-by-step (cab-roof Nathan K5LA install)
This sequence assumes a Class 8 tractor with the standard air-brake system and a Nathan K5LA mounted on the cab roof. Total time: 2–3 hours.
- Disconnect battery negative terminal. On 12V/24V dual-battery trucks (most Class 8), disconnect both.
- Drain the air system fully. Open the petcock on the main reservoir tank until the gauge reads 0 PSI. This is mandatory before tapping the air system — pressurized air at 130 PSI is dangerous.
- Locate an unused 1/4″ or 3/8″ NPT port on the main air manifold. Most trucks have several auxiliary ports for trailer brakes, sliders, and accessories.
- Install a brass tee or branch fitting at the chosen port to add a new 1/2″ NPT outlet for the horn line.
- Run a 1/2″ air line (rated 150 PSI minimum) from the manifold tap up the cab post and along the cab roof to the horn mount location.
- Mount the K5LA bracket to the cab roof using existing structural mounting points (auxiliary light or antenna mounts) or fabricating a new bracket. The K5LA is 38 lb — verify roof structural capacity.
- Install a solenoid valve in line with the air line, near the cab roof horn but accessible for wiring. 12 V DC or 24 V DC depending on truck system voltage.
- Run electrical — 18 AWG from the solenoid + terminal back to the cab. Tap the OEM steering wheel horn signal via a relay (see /install/by-task/wiring-diagram/) so pressing the OEM horn button fires both stock horns and train horn.
- Charge the air system. Start the engine and let the air compressor build pressure to cut-out (130 PSI typical). Verify no leaks at the new tap.
- Test fire the train horn. K5LA should sound at full volume immediately because the main reservoir is at full pressure.
- Verify cab-roof mount under highway speeds by driving 5–10 miles. Re-torque mounting bolts; vibration loosens them faster than you’d expect on a Class 8.
Stock air horn — replace or supplement?
Most Class 8 trucks come with dual stock air horns (typically Hadley or Grover air horns mounted on the cab roof). When adding a train horn, choose:
Replace stock horns
Remove the stock horns, mount the train horn in their place, wire the solenoid to the OEM horn signal. Single horn fires when you press the steering wheel button.
Pros: Simpler install, single point of failure. Cons: Lose the stock horn sound; some carriers require stock-horn presence.
Supplement (add train horn alongside stock)
Keep the stock horns, mount the train horn separately, wire both to the OEM horn signal in parallel. Both fire together when the button is pressed.
Pros: Stock horn preserved (regulatory / fleet compliance), redundancy if one fails. Cons: More wiring, more air consumption from the manifold per honk.
3-way switching
Add a cab-mounted toggle that selects stock horn / train horn / both. Allows the driver to “mode-switch” depending on context.
Common Class 8 install problems
Distilled from owner-operator forums (TruckersReport, KW T800 Forum, Peterbilt forums, Freightliner Forum):
- Air leak at the new manifold tap. Use Teflon tape on every NPT thread; do not Teflon-tape PTC fittings. Spray soapy water on the new tap when the system is at full pressure; bubbles mark the leak.
- Cab-roof mount pulls free at highway speed. Class 8 cab roofs see significant wind load. Use Grade 8 hardware, large fender washers, and torque-spec’d mounting points. The 38 lb K5LA at 70 mph head-on wind is approximately 100 lb of dynamic load.
- Solenoid coil burns out on 24V truck. Verify your solenoid is rated for the truck’s electrical system voltage. Some Class 8 trucks (older Internationals, some Volvo VNL trims) run 24 V instead of 12 V.
- OEM stock horn stops working after wiring the train horn into the same circuit. Use a relay topology so the OEM signal energizes both stock horn relay AND train horn solenoid relay independently.
- Air leak drains main reservoir overnight. A small leak that’s invisible during operation can drain the entire air system over hours. Pressure-test by parking the truck overnight with the engine off and checking the air gauge in the morning.
- Insufficient air supply for sustained K5LA blast. The K5LA at 100 PSI consumes ~14–16 SCFM; a Class 8 main reservoir tank at 130 PSI typically holds 3–5 gallons of usable air, giving 8–15 sec of continuous K5LA blast before the engine compressor catches up. This is fine for grade-crossing-style use; not enough for sustained “lay on the horn” use.
- Brake air starvation. If the train horn is using main reservoir air during a heavy braking event, you can theoretically reduce brake response. Most Class 8 trucks have separate service and emergency reservoirs to prevent this; verify your truck’s air schematic before tapping.
Legal reminder
A train horn install on a Class 8 semi truck is legal in most U.S. states for the horn hardware itself, but using it on a public road typically violates state vehicle codes. State caps are typically ~110 dB; FMVSS 141 caps replacement passenger-vehicle horns at 118 dB at 2 m forward. Note: Class 8 trucks may have different (higher) FMVSS limits — verify your specific state and FMCSA / FHWA fleet operating rules. See /legal/ and /tools/state-legality/.
Sources
- HornBlasters — Nathan Airchime Train Horns (locomotive horn aftermarket)
- HornBlasters — World’s Loudest Train Horns (K5 / Leslie RS-5T spec reference)
- Locomotive Parts Supply — Nathan AirChime K5LA (90–140 PSI K5LA operating range; matches Class 8 main reservoir)
- Wikipedia — Air brake (road vehicle) (Class 8 main reservoir 110–130 PSI typical)
We do not perform hands-on installs. Verify all wiring against your specific Class 8 chassis service manual and your fleet’s operating rules before powering up.