How to Install a Train Horn on a Harley-Davidson Motorcycle
Train horn install for Harley-Davidson — under-seat, saddlebag, and behind-fairing mounting; relay wiring to OEM horn signal; bagger vs Sportster fitment notes.
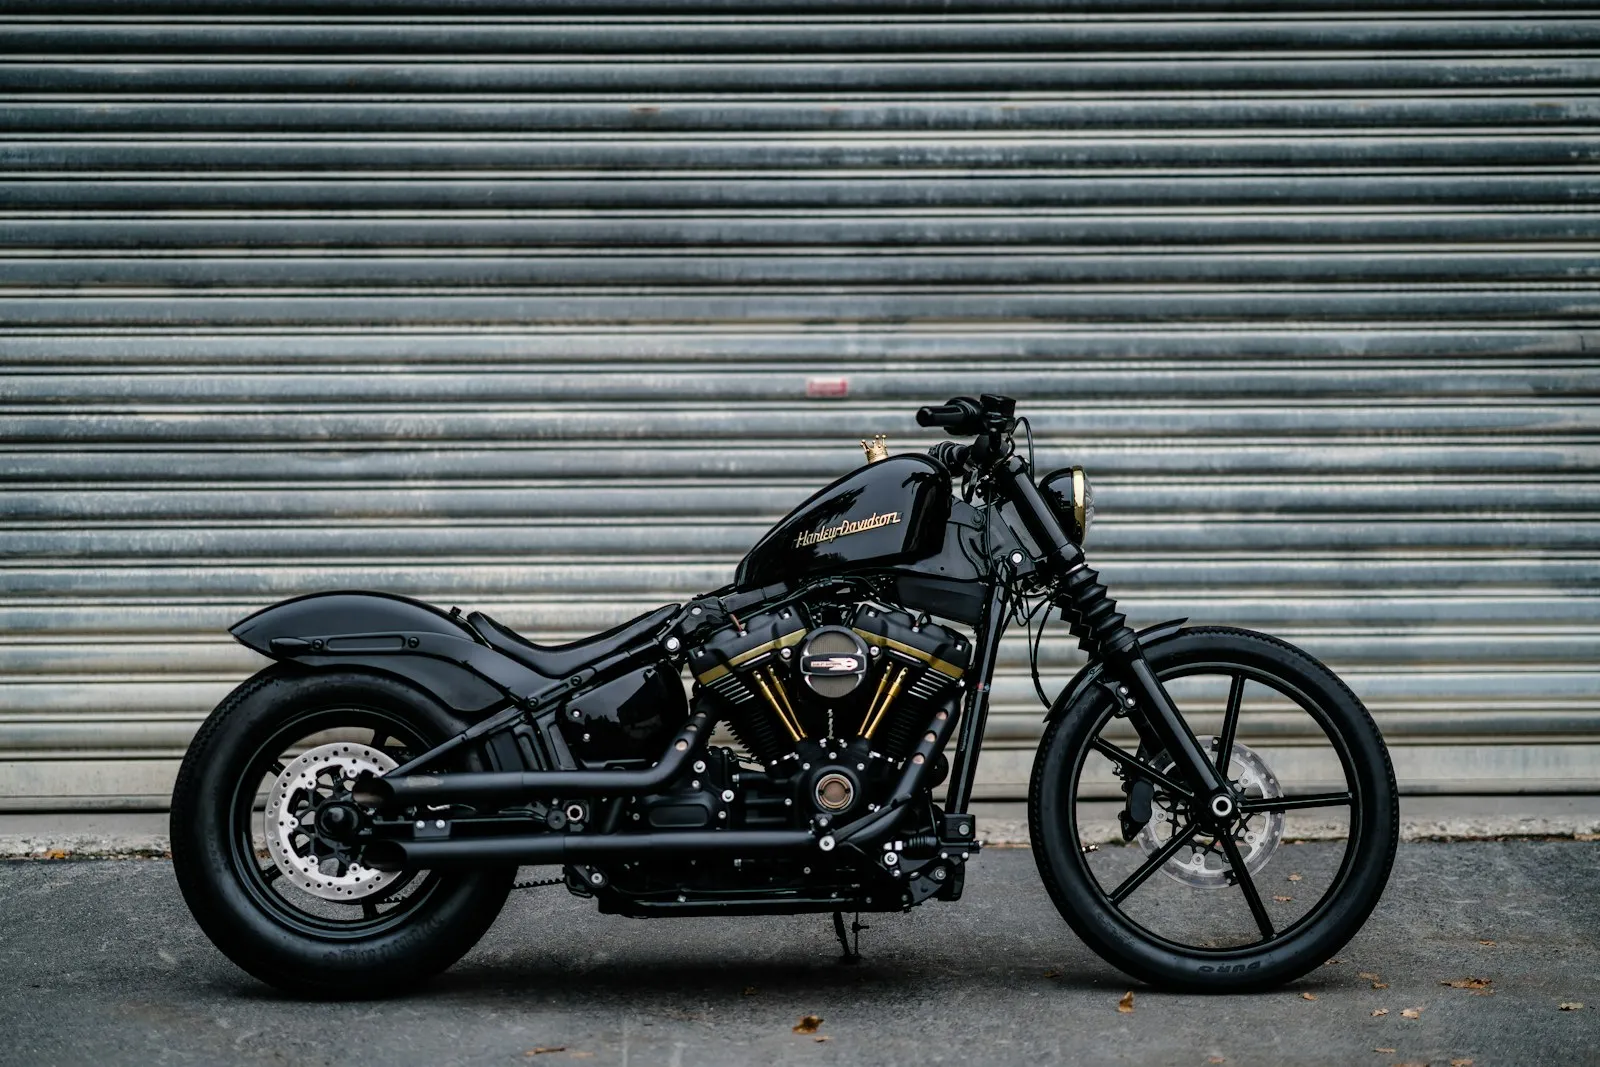
A train horn install on a Harley-Davidson follows the same general electrical pattern as any motorcycle install — compact tankless or tiny-tank horn, relay coil tapped to the OEM horn signal, 12 V wiring sized for compressor inrush. What’s specific to Harley is mount space and OEM electrical access: bagger and touring models give you saddlebag space, dressers have fairing room, Sportsters and Softails are tighter. This guide consolidates HornBlasters’ motorcycle install documentation and Harley-Davidson community forum threads.
For the universal platform-agnostic motorcycle procedure, see the generic motorcycle install guide. This page focuses on Harley-specific mounting and electrical access.
- Difficulty
- Moderate
- Saddlebag/fairing access
- Time
- 2–3 hours
- Once OEM horn located
- Cost
- $150–$400
- Compact kits + Harley-grade wiring
- Best mount
- Saddlebag or under-seat
- Touring/bagger models
- Output
- 123–142 dB
- Compact horn at 3 ft
- OEM horn
- Front, near triple tree
- On most Harley models
Mount locations by Harley family
Harley uses similar electrical architecture across models, but mount space varies dramatically by family. Pick by your bike type:
Touring / Bagger / Dresser (Road Glide, Street Glide, Electra Glide, Road King)
- Saddlebag (recommended). The right or left saddlebag has plenty of space for a compact train horn, with weather protection. Run wiring through the existing harness pass-through to the bag.
- Inside the front fairing. Dressers have substantial space behind the fairing for components. Heat clearance from the engine is the main constraint.
- Under the seat. Touring frames have generous battery-tray space; the train horn fits next to or above the battery.
Softail (Heritage, Fat Boy, Deluxe, Street Bob, etc.)
- Under the seat (limited). Softail rear suspension means the seat-frame area has less clearance than touring frames. Compact horns (≤ 6” long) fit; full-size ones don’t.
- Behind the side cover. Most Softails have a removable side cover with a small cavity behind the battery box. Tight but workable for compact horns.
- Frame downtube mount. Visible mount on the front frame; common on custom builds where stealth isn’t a priority.
Sportster (XL family — pre-2021 platform; new 2021+ Pan America platform similar to softails)
- Behind the oil tank / under-seat. Tight envelope. Use the smallest compact horn available. Compressor cooling is the main concern; air-cooled engines dump heat into the area.
- Saddlebag (if equipped). Aftermarket bags add the same envelope as touring models.
Pan America (2021+) and CVO models
- Saddlebag or top trunk. Same as touring family.
- Verify Pan America’s electrical architecture. It uses different OEM horn fuse positions than legacy V-Twin models; check service manual.
Recommended kits
Three kits ordered by price tier:
- Compact 130 dB motorcycle horn ($80–$150) — entry-level kits like the HK 150 dB Snail (claimed at-source; ~130 dB realistic at 3 ft). Includes relay and harness. See HK Compact Motorcycle Horn on Amazon.
- HornBlasters compact ($130–$200) — measured 123.7 dB Compact Loud Motorcycle Horn (HornBlasters Motorcycle Horns). Honest spec, better build quality.
- HornBlasters Outlaw 127H ($300+) — single long-trumpet, 142 dB at 3 ft. Larger than typical motorcycle compact horns; best fit for touring saddlebag installs where space allows.
For portable / off-bike use cases (post-ride at the campsite, on a boat, etc.), see Milwaukee M18 and DeWalt 20V MAX battery-powered hubs — those don’t require any vehicle install at all.
Step-by-step (compact horn + relay on a Harley touring model)
This sequence assumes a Harley touring model (Road Glide, Street Glide, Electra Glide, etc.) with a compact horn mounted in the right saddlebag. Adapt for Softail / Sportster / Pan America by changing mount location. Total time: 2–3 hours.
- Disconnect battery negative terminal. Harley batteries are typically under the seat; lift the seat first.
- Locate the OEM horn. On most Harleys, the OEM horn mounts on the front frame near the triple tree, between the headlight and the engine. Trace its two wires.
- Open the saddlebag and identify a clean dry surface for mounting the horn. Right side is more common because the OEM horn wiring is usually easier to route there.
- Drill mount holes through the saddlebag liner if needed (most aftermarket Harley horn kits include a bracket that uses existing bag mounting bolts to avoid drilling). Use rubber-isolated mounting hardware.
- Mount the train horn with the trumpet outlet pointing forward and slightly outward (away from the rider).
- Mount the relay in a dry area — under the seat near the battery or behind the front fairing.
- Run the high-current power wire (12 AWG) from the battery positive through a 10 A inline fuse to relay Pin 30. Route along the OEM frame harness with zip ties.
- Run the load wire (12 AWG) from relay Pin 87 through the saddlebag harness pass-through to the train horn’s positive terminal.
- Ground the train horn to the saddlebag’s grounding screw or run a 12 AWG ground wire back to the battery negative.
- Tap the OEM horn signal. Splice 18 AWG wires into both OEM horn wires using butt connectors (NOT direct splice). Run those two wires to relay Pins 85 and 86. Polarity does not matter on the relay coil — the OEM horn’s wiring sees 12V across both wires only when the horn button is pressed.
- Heat-shrink every connection. Harleys see weather; bare butt connectors corrode within a season.
- Reconnect battery, prime any tank (compact horns with small reservoirs take 10–15 sec to fill on first power-up).
- Test by pressing the OEM horn button. Both OEM horn and train horn should fire together. Wear hearing protection.
- Verify after a 50-mile shakedown ride. Vibration finds loose fittings on Harleys particularly fast — V-Twin engines transmit a lot of low-frequency vibration into the chassis.
Wiring diagram
Same universal motorcycle topology as any other bike. See the generic motorcycle install guide for the full ASCII diagram, or /install/by-task/wiring-diagram/ for the universal car-and-truck version.
Common problems
Distilled from H-D Forums, ABATE forums, and HornBlasters wiring documentation:
- Train horn fires whenever bike is on, not just on horn button. Relay coil is connected to a constant-12V wire instead of the OEM horn signal. Trace the OEM horn wires properly with a multimeter.
- Weak horn output. Undersized ground wire is the #1 cause. Run a dedicated 12 AWG ground from the horn back to the battery negative; don’t trust the saddlebag chassis ground.
- Vibration loosens NPT fittings. V-Twin vibration is significant. Use thread-locker on every NPT thread; recheck after 50 miles.
- Heat damage to compressor near engine. Air-cooled V-Twins dump heat into the seat area. If mounting under the seat, verify the compressor’s plastic body isn’t directly exposed to engine cylinder heat.
- Saddlebag doesn’t latch with horn inside. Verify total internal clearance before final mount. Some compact horns are too tall for stock saddlebags.
- OEM horn stops working. Direct splice into OEM horn wires can drop voltage; use butt connectors with heat-shrink instead.
- Reversed compressor polarity. Symptom: motor grinds, no air. Swap +/− at the compressor.
Legal reminder
A train horn on a Harley-Davidson is legal to install in most U.S. states for the horn hardware itself. Routine use at full output on public roads typically violates state vehicle codes — most states cap horn output around 110 dB at the source or front of vehicle, and federal FMVSS 141 caps replacement passenger-vehicle horns at 118 dB at 2 m forward. A 123–142 dB compact motorcycle horn is loud enough to attract enforcement attention. See the legal hub and state legality lookup.
Sources
- HornBlasters — Wiring the Motorcycle & Truck Electric Air Horns (relay pin assignments, OEM-horn-tap procedure)
- HornBlasters — Motorcycle Horns landing page (Compact Loud 123.7 dB)
- HornBlasters — Outlaw 127H product reference (142 dB single long-trumpet)
- MotoHorn — User Manual (motorcycle-specific install guidance)
- Amazon — HK 150 dB Train Horn (entry-level reference)
- the12volt — Air horns wiring discussion (common-mistake catalog applicable to motorcycle installs)
We do not perform hands-on installs. This guide aggregates publicly available install documentation and community discussions. Verify all wiring against your specific Harley-Davidson model’s service manual before powering up.