How to Install a Train Horn on a Tesla
Train horn install for Tesla Model 3/Y/S/X — no engine bay, frunk space for compact air system, 12V auxiliary battery wiring, OEM horn signal access.
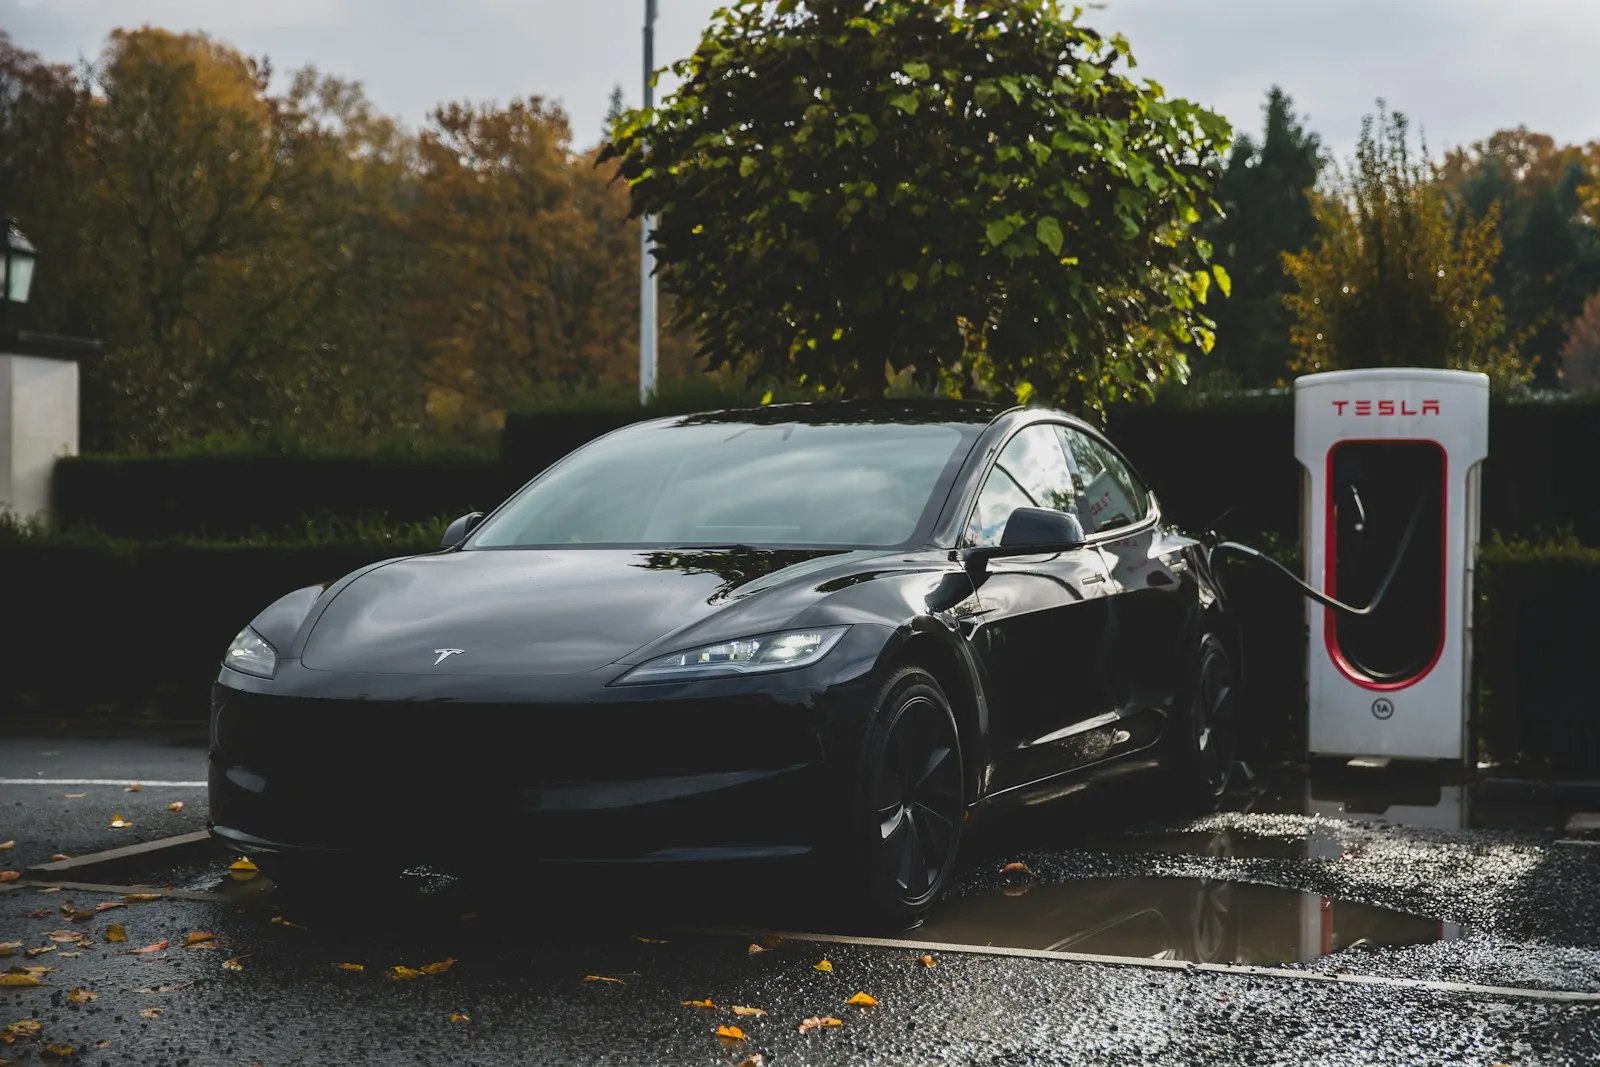
Tesla install is fundamentally different from any ICE vehicle install: no engine bay, no traditional 12V starter battery, no OEM horn fuse box in a familiar PDC layout. Tesla cars run all 12V accessories from a small low-voltage auxiliary battery (typically 12V lead-acid or 12V Li-ion in newer models) that gets charged from the main HV pack via a DC-DC converter. Train horn install requires careful 12V access from this auxiliary system — never the high-voltage pack.
- Difficulty
- Moderate
- Tesla-specific 12V access
- Time
- 4–5 hours
- Frunk install + LV wiring
- Cost
- $650–$2,500
- Compact kit, no spare-tire-delete
- Best mount
- Frunk (front trunk)
- Compact 2-gal tank
- Models
- 3 / Y / S / X / Cybertruck
- Frunk space varies
- Power source
- 12V auxiliary battery
- NEVER HV pack
Tesla-specific install considerations
- No engine bay — Tesla’s frunk (front trunk) is where the air source goes. Frunk volumes: Model 3 ~3 cu ft, Model Y ~4 cu ft, Model S ~5 cu ft, Model X ~6 cu ft, Cybertruck ~6 cu ft.
- 12V auxiliary battery is the only legitimate power tap. Never tap the HV pack — high-voltage components in a Tesla are deadly.
- OEM horn signal access varies by model. Service Bulletins and Tesla wiki pages document which fuse covers the OEM horn for each model year.
- Tesla service warranty implications. Modifications to the 12V system can void warranty coverage. Check current Tesla policy before install.
- 2-gallon Conductor’s 228H is the practical maximum. 5-gallon kits won’t fit any Tesla frunk except possibly the Cybertruck.
Recommended kits
- HornBlasters Conductor’s Special 228H — fits all Tesla frunks except Model 3 (tight).
- HornBlasters Outlaw 127H — single trumpet, fits even Model 3.
- Portable battery alternatives — see Milwaukee M18 etc. — no Tesla wiring required.
Step-by-step (overview)
- Identify your Tesla’s 12V auxiliary battery location. Service manuals or Tesla wiki resources document exact location per model year.
- Mount the train horn air source in the frunk. Use existing structural mount points or fabricated bracket.
- Run 12 AWG wire from the auxiliary battery to the compressor through a 30A inline fuse. Within 12” of battery+.
- Mount the solenoid valve near the trumpets in the front bumper area.
- Tap the OEM horn signal for the trigger — exact procedure varies by model year. Verify with current Tesla service documentation.
- Heat-shrink every connection. Tesla cars are weather-sealed but accessory wiring isn’t always.
- Test fire before completing trim reassembly.
Common Tesla-specific problems
- Wrong battery tap. Using the HV pack is fatal. Use the 12V auxiliary battery only.
- DC-DC converter limits. Tesla’s onboard DC-DC converter has a current limit; sustained compressor draw can trigger limits.
- Service mode and OTA updates. Some Tesla over-the-air software updates may temporarily disable accessories. Verify behavior after updates.
- Aftermarket modifications void warranty. Tesla service has historically been strict about LV accessory modifications.
- Frunk closure interference. Verify the frunk lid closes fully without compressing the air source.
Legal reminder
Same as any aftermarket train horn — installation legal, road use restricted by state vehicle codes. Tesla owners face additional risk from automated speed/audio detection systems on Autopilot-equipped models. See /legal/.
Sources
- HornBlasters — Conductor’s Special 228H Kit (compact kit reference)
- Mustang install guide (this site) (passenger-car install pattern)
This guide is conservative: Tesla service procedures vary by model year and software version. We do not perform hands-on Tesla installs. Verify all wiring against current Tesla service documentation and consult Tesla service before tapping the LV battery system.