Train Horn Compressor Intake Filter: Clean, Replace & Relocate It
How often to clean or replace your train horn compressor intake filter, which Viair element fits, clogged-filter symptoms, and where to relocate the intake high and dry.
Your train horn compressor intake filter is a few dollars of foam and paper standing between road grit and a piston that costs real money to rebuild. Here is how often to clean or swap it, how to spot a clogged one, and where to move it so it stops drinking water in the first place.
What the intake filter actually does
Every 12-volt horn compressor breathes ambient air through a small filter housing threaded into the intake port. That housing holds a replaceable element, and its only job is to stop dust, sand, and moisture before they reach the cylinder and piston ring. Viair’s own maintenance page puts it plainly: the filter “plays a crucial role in your compressor’s performance and longevity” and “should be changed regularly to ensure the compressor receives clean, unclogged air.”
There is a second, less obvious reason it matters. A restricted inlet does not just slow the pump. According to Master Tool Repair’s write-up on clogged compressor filters, a starved motor is “constantly operating at a higher amperage and a higher duty cycle,” which is exactly the condition that trips the thermal switch on a hot day. If your pump has been shutting down early, read our guide to compressor thermal overload alongside this one, because a dirty filter is one of the cheapest causes to rule out.
How often to clean or replace it
The short answer for train horn kits: replace the element every 3 months and inspect it monthly. That interval comes straight from Viair, repeated on HornBlasters’ product pages for both the donut and disc elements and on their kit-preservation help article, which says a fresh filter keeps the compressor from working harder, overheating sooner, and filling slower.
Industrial compressor shops are looser, and their advice is a useful sanity check:
| Source | Inspect | Replace |
|---|---|---|
| Viair / HornBlasters (12V horn compressors) | Not stated | Every 3 months |
| Quincy Compressor | Monthly is ideal, at least once per season | When damaged, old, or still weak after cleaning |
| Master Tool Repair | Weekly; daily in dusty environments | Every 3 to 6 months, sooner if dark, oily, or caked |
| Fluid-Aire Dynamics | Ongoing schedule | Twice a year as a baseline |
A shop compressor sits in a garage. A horn compressor rides on a frame rail or in a pickup bed and eats whatever the tires kick up, so the tighter 3-month Viair number is the one to follow. If you spend weekends on gravel or desert trails, pull the element after every dusty trip and look at it. A gray or brown element is done regardless of the calendar.
- Daily driver on pavement: inspect monthly, replace every 3 months
- Off-road, farm, or job-site truck: inspect after every dusty run, replace as soon as it looks dark
- Any compressor that has run through standing water or a car wash with the filter exposed: replace immediately and check for water inside the housing
Clean it or replace it?
You can extend an element between changes, but only a little. Quincy’s method is to “blow any dust, dirt or debris away from the filter element with low-pressure compressed air.” Fluid-Aire Dynamics adds that cleanable intake filters can also take a gentle warm water rinse, with the warning that “not all types of air compressor filters are washable” and that anything saturated or clogged should simply be replaced.
Given that a 5-pack of Viair donut elements costs $7.95 at HornBlasters and a 4-pack of disc elements costs $5.27, cleaning is a stopgap rather than a strategy. Blow it out if you are away from home and the pump is starting to labor, then replace it when you get back.
- Do not rinse a paper element and reinstall it damp; the compressor will pull that moisture straight into the cylinder
- Do not blast the element with shop air at full line pressure. Fluid-Aire Dynamics recommends staying under 30 PSI
- Do not run the compressor with the housing empty “just for a day.” One gravel road is enough to score a cylinder wall
Which element fits your compressor
Viair uses two main element styles, and getting the right one is the only tricky part of this job. HornBlasters lists the fitment on its product pages:
| Element | HornBlasters part | Viair part | Fits | Pack | Price |
|---|---|---|---|---|---|
| Donut (plastic housing) | CP-FE-VP1 | 92626 | 280C, 325C, 330C, 350C, 380C, 400C, 444C, 450C, 485C | 5 | $7.95 |
| Disc (metal housing) | CP-FE-VM14 | 92628 | 420C, 480C | 4 | $5.27 |
Viair’s own element page prices replacement packs from $5.75 to $9.50 depending on the housing and notes that plastic housings take 5-piece packs while metal and 6-stage housings take 4-piece packs. The 6-stage metal housing is offered on both its direct-mount and remote-mount filter assemblies.
If you are not sure what you have, look at the housing. A round plastic housing with a donut-shaped element inside is the standard 280C-through-485C setup. A flat metal disc housing belongs to the 420C and 480C family. If you have a HornBlasters HB-series or another brand’s compressor, check that brand’s page before ordering, because fitment is by thread size and housing shape, not by horn kit.
Symptoms of a clogged intake filter
A clogged filter looks like a tired compressor, which is why people replace the pump when they should have replaced a sub-$2 element first. Master Tool Repair describes the signature well: the pump “will take significantly longer to fill the tank (slow recovery time), and it may not even reach its maximum PSI.” HornBlasters lists the same cascade for horn kits, from working harder to overheating sooner to slower fills to eventual failure.
- Tank fill time creeps up over weeks, not overnight
- Compressor runs hotter to the touch than it used to and trips its thermal switch sooner
- Pressure switch cut-out takes noticeably longer to reach, or the pump stalls just below it
- Intake sounds strained or wheezy instead of a steady chuff
- The element is visibly gray, brown, oily, or crusted
Two of those symptoms overlap with worn piston rings, so use the order of operations that costs the least. Swap the element and re-time a fill from empty. If the time drops back to normal, you are done. If it does not, move on to leak checks and then to the parts in our compressor rebuild kit guide.
Where to relocate the intake
This is the part most kit owners skip, and it is the part that determines whether the filter lasts 3 months or 3 weeks. HornBlasters’ relocation instructions do not mince words: a filter mounted directly on a compressor that lives outside the cab “can get wet and ultimately allow the compressor to breathe in moisture and debris,” which “can and will lead to issues with the compressor and eventually failure.”
Their recommended target is “a high/dry location such as the cab, or any area where water will not reach the filter.” In practice that means:
- Inside the cab, behind a kick panel or under a seat
- Inside a bed-mounted toolbox, which HornBlasters names specifically in its kit overview
- High in the engine bay away from the exhaust manifold and the fan’s water spray path
- Inside a fender well only if it sits above the tire’s splash line and behind a liner
Mounting location matters even more if your compressor is not a sealed unit. Viair’s FAQ says that if you see vents or holes in the motor housing, the compressor “is not sealed and must be kept away from dust and moisture,” and that sealing becomes “extremely important” when mounting to an exposed spot like a chassis rail. A remote intake does not turn an open-frame compressor into a sealed one, but it does keep the one opening you can control out of the weather. For the full mounting picture, see where to mount a train horn compressor.
Water that does get past the intake ends up in your tank, which is why a remote filter pairs naturally with the drain habit and hardware in our water trap and air dryer guide.
How to relocate it: the 6-foot rule
HornBlasters ships a relocation kit with its weather-resistant horn packages, and Viair sells the same thing as its Remote Mount Air Filter assembly (part 92619 for the plastic 1/8 in. NPT version, $8.75 on Viair’s site) in plastic, metal, and metal 6-stage housings with port and line combinations from 1/8 in. NPT with 1/4 in. line up to 3/8 in. NPT with 1/2 in. line. The procedure is the same either way.
- Disconnect the battery ground before touching the compressor wiring.
- Pull the orange shipping plug out of the compressor’s intake port, per the HornBlasters install manual.
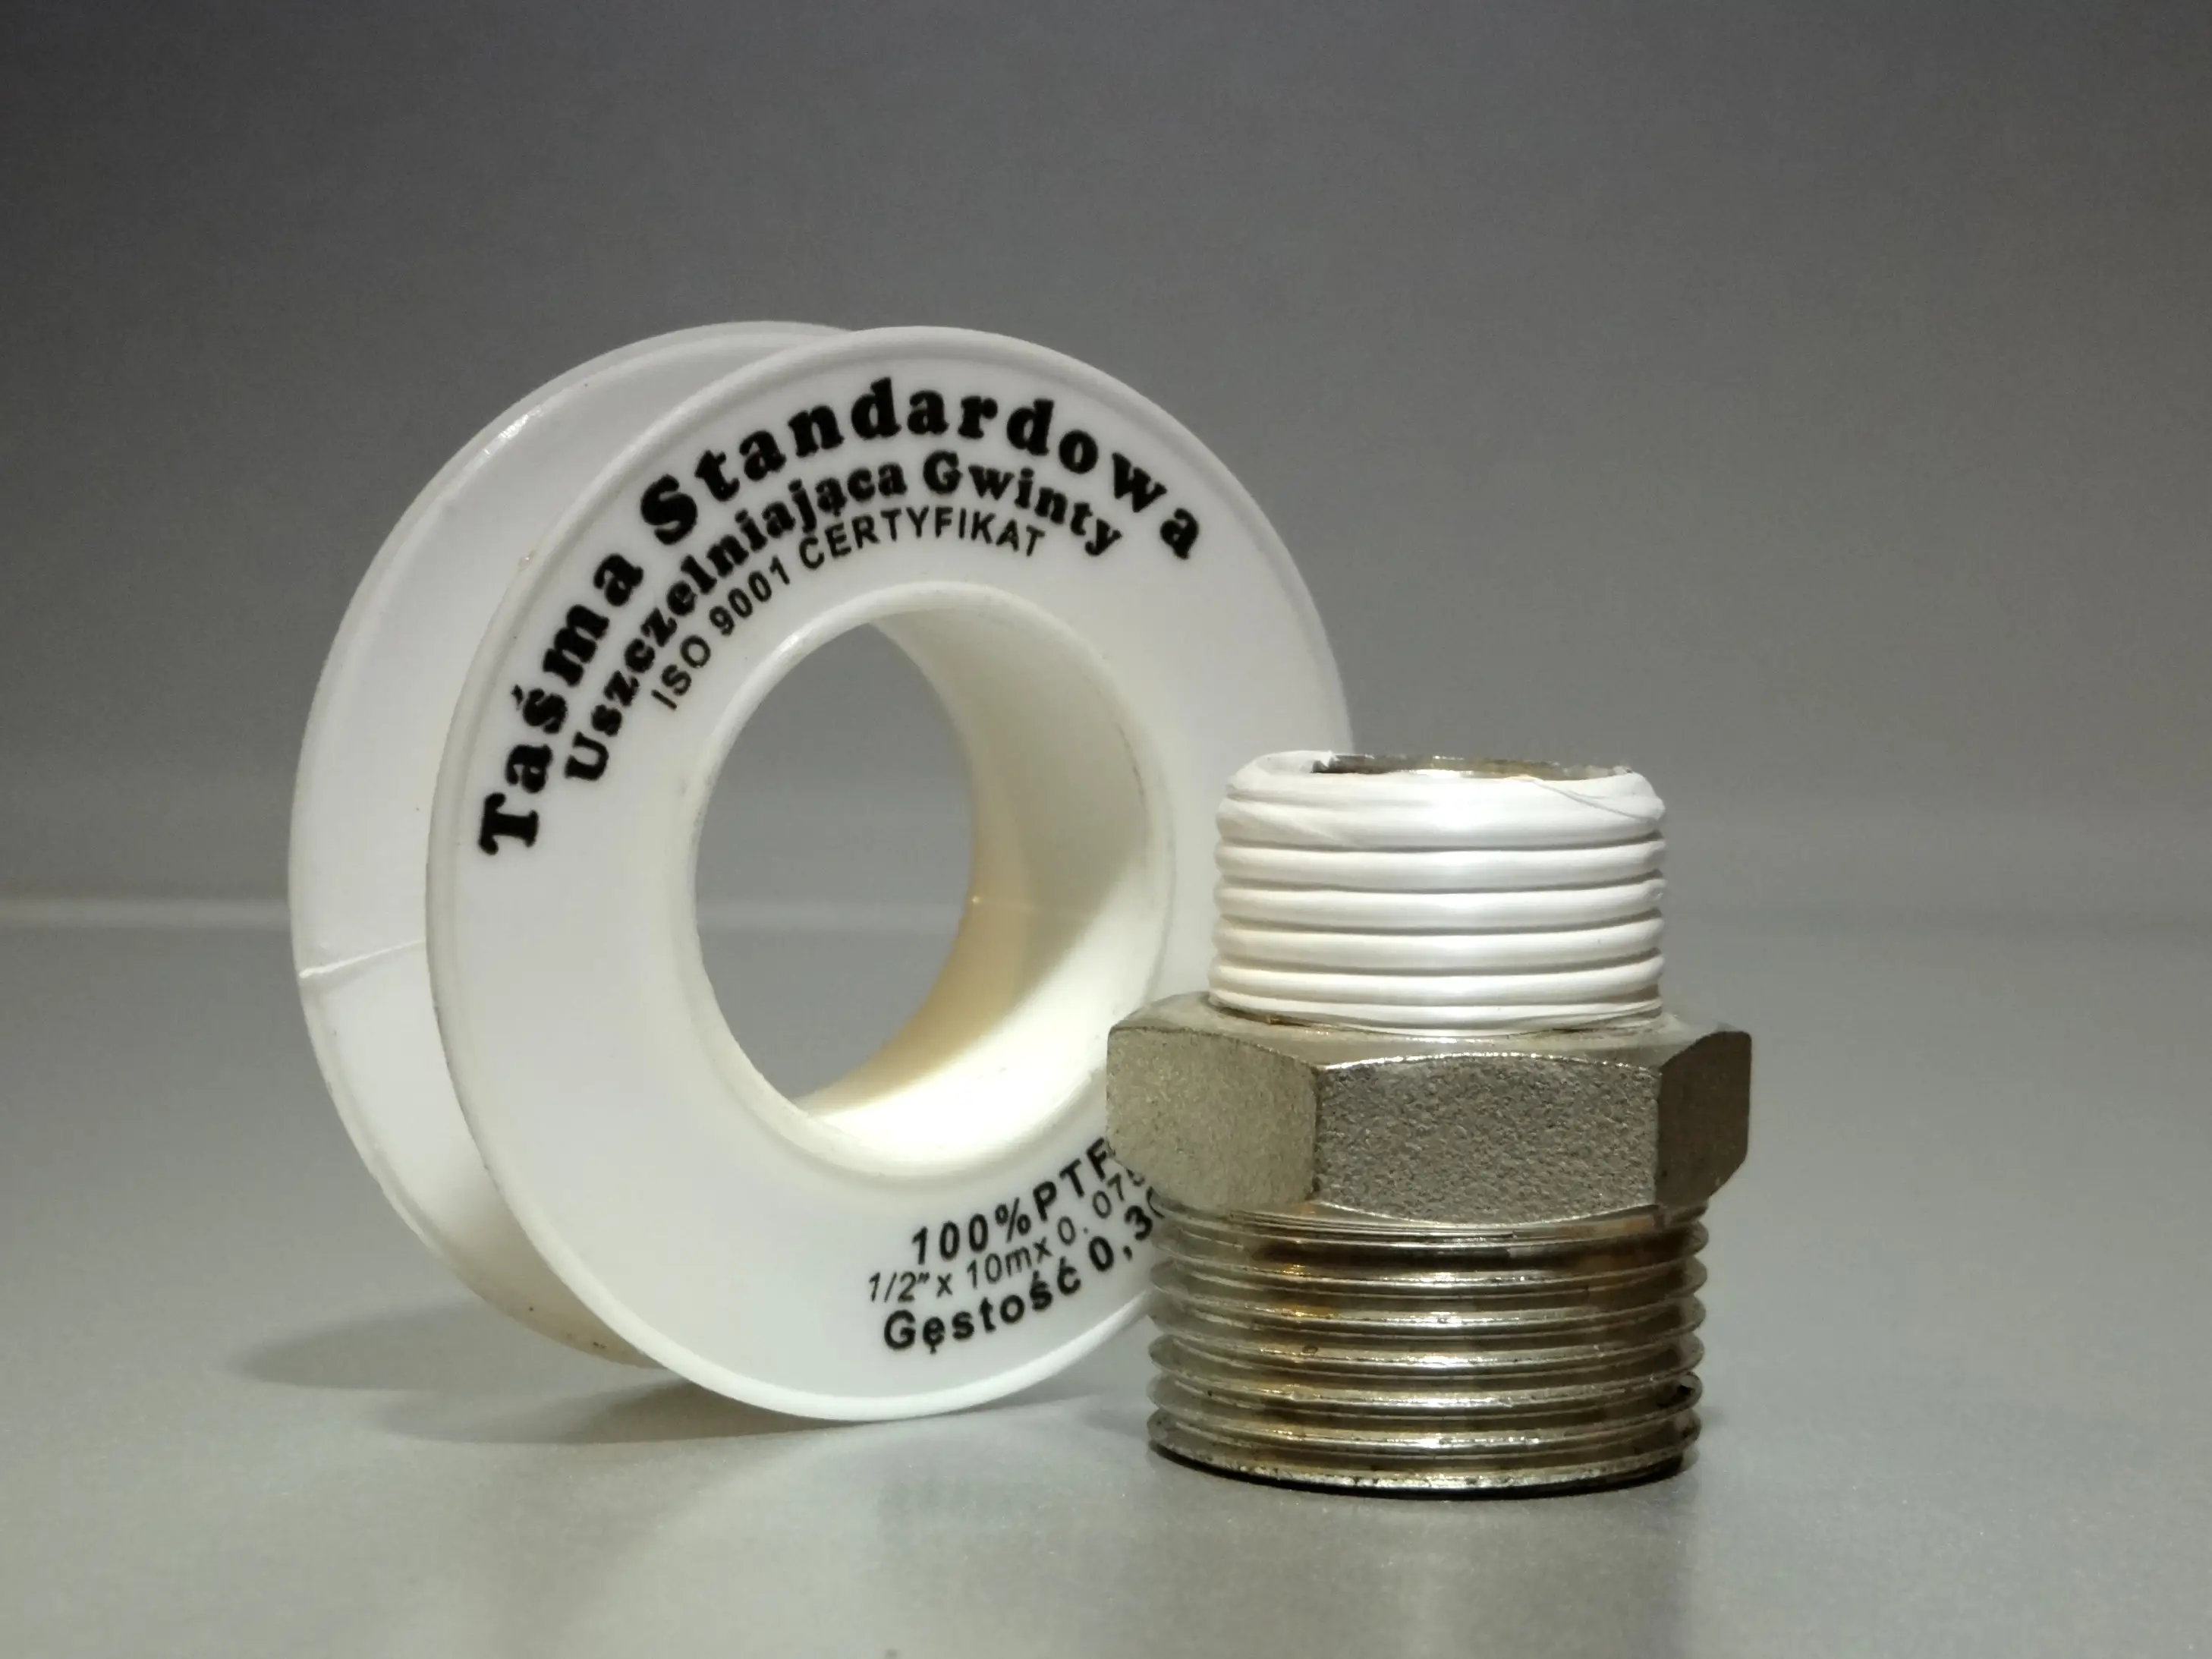
- Thread the male barbed fitting into the intake port by hand. HornBlasters is explicit that no Teflon tape is needed because the fitting “will not be holding back any pressure,” and that tape fragments can end up inside the compressor.
- Thread the female barbed fitting onto the filter housing’s male stub.
- Run 3/8 in. OD air line between the two fittings. HornBlasters’ install manual allows up to 6 feet of line between the compressor and the remote filter.
- Mount the housing high and dry using the supplied mounting hardware, with the element facing down or sideways so it cannot collect drips.
- Route the line so it cannot kink, chafe on a frame edge, or sit in a low loop where condensation can pool.
Keep the run as short as the location allows. The 6-foot figure is a ceiling, not a target, and every foot of line adds a little intake restriction that a small pump has to overcome.
A 5-minute quarterly routine
Combine the filter change with the tank drain and you will hit both of the maintenance items the HornBlasters install manual calls out in its opening warning: “Make sure to change filters and to drain the moisture from your tank on a regular basis.”
- Unscrew the filter cap, pull the element, and hold it up to light. Replace it if it is discolored or if 3 months have passed
- Look inside the housing for water beads or rust. Either one means the housing is mounted too low
- Trace the intake line for kinks or a loop that sags below the housing
- Drain the tank until it blows dry, then note the fill time from empty on your phone for next quarter’s comparison
Keep reading
- Train horn compressor shuts off when hot: thermal overload explained
- Train horn compressor rebuild kits: rings, pistons and when to replace
- Water traps and air dryers for train horn systems
- Where to mount a train horn compressor
- Train horn compressor duty cycle explained
Sources
- VIAIR Compressor Maintenance 101 — Viair’s statement that the filter is crucial to performance and longevity and should be changed regularly.
- Viair FAQ — sealed vs. non-sealed compressors, vents in the motor housing, and the importance of sealing for chassis-rail mounts.
- Viair Remote Mount Air Filter — part 92619 (plastic 1/8 in. NPT x 1/4 in. line), $8.75, port and airline size options, plastic/metal/6-stage housings, relocation purpose.
- Viair Direct Mount Air Filter — part 92620, $8.25, NPT sizes and housing options.
- Viair Air Filter Elements — replacement packs priced $5.75 to $9.50 by housing type, 5-piece plastic and 4-piece metal/6-stage pack sizes.
- HornBlasters: Viair Donut Air Filter Elements (5 Pack) — $7.95, part CP-FE-VP1 / 92626, 280C–485C fitment, 3-month replacement interval.
- HornBlasters: Viair Disc Air Filter Elements (4 Pack) — $5.27, part CP-FE-VM14 / 92628, 420C and 480C fitment, 3-month interval.
- HornBlasters: Preserving Your Horn Kit — 3-month filter change and the work-harder / overheat / fill-slower / fail cascade.
- HornBlasters: Get to Know Your Horn Kit — relocating the filter to a dry area such as a toolbox; mounting upright.
- HornBlasters: How To Relocate the Air Filter — fitting order, no-Teflon-tape rule, high/dry cab mounting, moisture warning.
- HornBlasters: Conductor’s Special Air Filter Relocation — kit contents and 3/8 in. air line.
- HornBlasters HK-C5B-540 Installation Instructions (PDF) — orange intake plug, 3/8 in. OD line, 6-foot relocation limit, hand-tighten check valve, change-filters-and-drain warning.
- HornBlasters: Preparing for Your Install — relocate the filter if the compressor can get wet or dusty; mount upright for heat dissipation.
- TruckSpring: Viair Remote Inlet Air Filter Assembly 92621 — plastic remote housing with 1/4 in. NPT port, $10.59.
- Quincy Compressor: How Do You Maintain Your Air Compressor Filters? — monthly inspection, low-pressure compressed-air cleaning, replace-when criteria.
- Master Tool Repair: The Quiet Killer, How a Clogged Air Compressor Filter Destroys Your Pump — higher amperage and duty cycle, slow recovery and low max PSI, 3–6 month interval, weekly/daily inspection.
- Fluid-Aire Dynamics: 5 Tips for Maintaining Air Compressor Filters — not all filters washable, under-30-PSI cleaning, warm water rinse, twice-a-year baseline.
Frequently asked questions
Quick answers to the questions people ask most about this topic.
- How often should I replace the air filter on a train horn compressor?
- Viair recommends replacing the intake filter element every 3 months, and HornBlasters repeats that interval for its Viair-based kits. Inspect it monthly, and replace it sooner if it looks gray, brown, oily, or caked, or after any dusty off-road trip.
- Can I clean a Viair compressor air filter instead of replacing it?
- You can blow it out with low-pressure compressed air, under 30 PSI, as a stopgap, but replacement elements cost about $5 to $8 for a 4- or 5-pack, so cleaning is not worth stretching. Never reinstall a damp element, and never run the compressor with the housing empty.
- What are the symptoms of a clogged compressor intake filter?
- Tank fill times that creep up over weeks, a compressor that runs hotter and trips its thermal switch sooner, a pump that struggles to reach its cut-out pressure, and a strained intake sound. Swap the element first, because the same symptoms can mimic worn piston rings.
- Where should I relocate my train horn compressor air filter?
- Mount it high and dry where water cannot reach it: inside the cab, in a bed toolbox, or high in the engine bay away from exhaust heat and tire spray. HornBlasters' install manual allows up to 6 feet of 3/8 in. air line between the compressor and the remote filter.
- Do I need Teflon tape on the remote air filter fittings?
- No. HornBlasters says the intake fittings are not holding back pressure, so tape is unnecessary, and pieces of tape can break off and get sucked into the compressor. Thread the barbed fittings in by hand.
Related reviews & guides
Train Horn Compressor Rebuild Kits: Rings, Pistons & When to Replace
Train Horn Air Tank Rust: Inspect, Prevent & When to Replace
How to Clean & Restore Train Horn Trumpets: Chrome, Rust & Repaint
Train Horn Compressor Shuts Off When Hot: Thermal Overload Explained
Teflon Tape vs Pipe Dope for Train Horn Fittings: Which Seals Better?